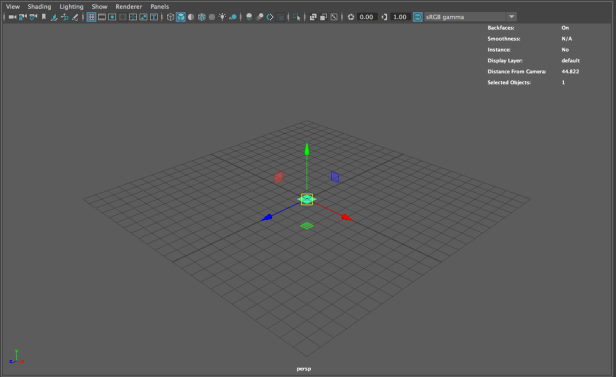
We will be looking at setting up basic lighting within a scene.


First, I opened a new scene and went to the Polygon Modelling tab and selected polygon plane to act as the ground of the scene.
I scaled it up with the scale tool and evened out the x and y values to an even number in the channel box. To make the plane low-poly, in the channel box, press inputs and change the subdivision width and height to 1.
Then, input a sphere from the Poly Modelling tab and change the x y and z scale value to 2. It is helpful to change the translate y value to and even number as well.

We’ll be using 3-point lighting for this scene and so I will need to add 2 directional lights as the key and back light and a spot light as the secondary (fill light). Go to Create > Lights to access lights.

Here, I have added a spot light.

With the light selected, go into the Attribute Editor where you’ll be able to change the light attributes as you please.


To see what the scene would look like when rendered, go to the clapper board with the eye inside of it.
When the dialogue box comes up, ensure that the drop down box is set to Maya Hardware 2.0 and select the clapper board to the far left of the box.

Here, I have added the three lights with adjusted attributes.


