
Using Adobe Animate, we’re learning how to create an animated city using the cityscape we previously made with Adobe Illustrator.
First, you need to prepare the cityscape file so that it is in the correct dimensions for animate. Open your cityscape illustrator file and save it as another file so that you’re free to edit it without altering the original – here is mine:

You will need to create a new artboard with the dimensions 1920px by 1080px so that it fits the animate setup. To do this, select the artboard tool in the toolbar and make it the whole size of the illustration.

Now, in the control bar, find the width and height values and replace them with the pixel values. It is important that you put ‘px’ at the end to indicate the unit. It will revert back to the original units of measurement in the file once you confirm but will remain the equivalent of the dimensions that you input.


The illustration will no longer fit the artboard so I extended my sky and road.

Open animate and set up a 1920px by 1080px ActionScript 3.0 file.
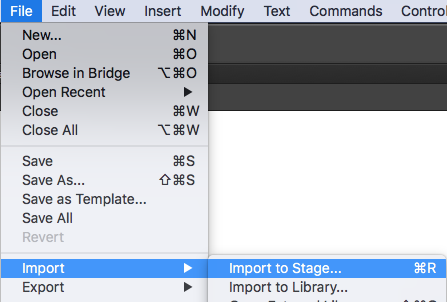
Go to Import > Import to Stage and find the cityscape illustrator file.

Select all of the layers that you want to be imported but remember to select the correct artboard for the new dimensions.
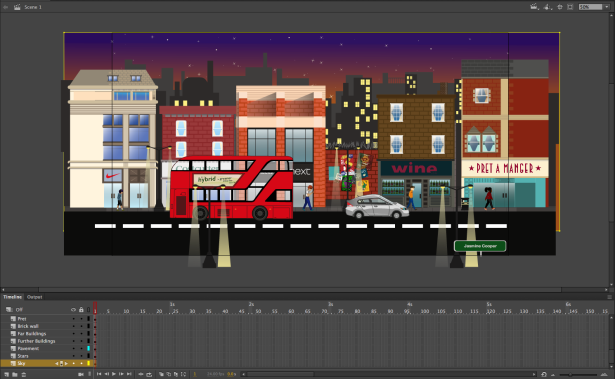
It should open with all of your layers – this is the setup so far.
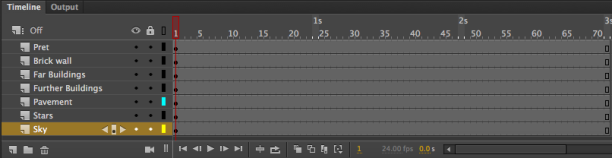
Insert some frames in the timeline to begin animating and ensure that you select all layers when doing this.


I am going to animate the sky as though the time of day is changing. First, you need to make the sky into a symbol and ensure that it is on it’s own layer. This time, the type must be set to movie clip because some options in the properties panel are not available for graphics.
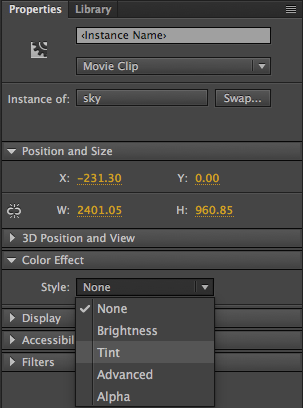
With the sky selected, go into the properties panel and under the colour effect dropdown, you will find a style dropdown – select tint. You can change the colour of the tint and so I am going to make it go from day to night.


On the first keyframe, set the tint percentage and colour to how you want it to start. Move along the timeline to where you want the sky to stop changing colour and insert a keyframe and change the tint to the colour you want it to change to.
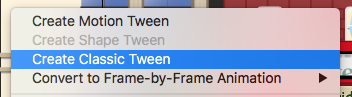
Now right-click on the first keyframe and select create classic tween.
I also only want my stars to be visible when it becomes night so I will use the same principle as changing the tint but with the opacity.
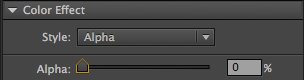
Make the stars into a movie clip symbol and find the ‘alpha’ option under the style dropdown in the colour effect options. Make the percentage go from o% to 100% between each keyframe.

I will have them pulsate and do that by inserting multiple keyframes whilst altering the alpha.
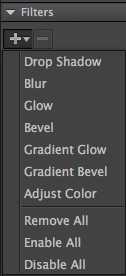
You can do different things with the filters on movie clips. For example, I made a sun and so I animated it coming onto and going off stage with a glow – the glow being the filter option. You can find this in the filters dropdown in the properties panel.


You can also animate a camera within your animation. Select the camera tool (shortcut C) and it will automatically create a new keyframe at the beginning.
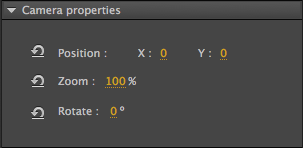
To animate the camera positions, create a new keyframe on the timeline before changing the position using the camera tool to scroll across the stage. You can also go into the properties and find the Camera Properties section to change the camera position using the values of x and y.
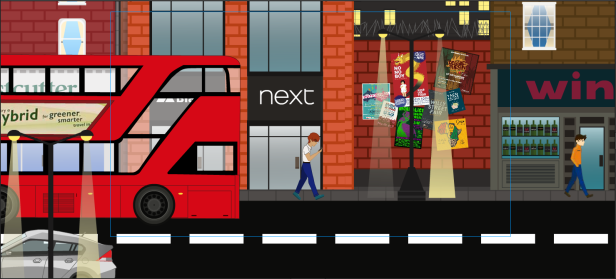
When you using the camera, notice a blue outline – this is what the camera sees and the space that you move when animating the camera.

You can turn the camera on and off if necessary using this icon in the timeline.
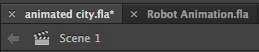
To access libraries from other animate files in your city animation, open them by going to File > Open and they should show up in tabs next to your city file.
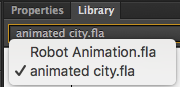
Now if you go into the library panel, you will see a dropdown where you can select the library from the other file and drag the symbols onto a new layer. This is an efficient way to re-use pre-made animations – in this case, I used my robot that I animated prior.
Here is my finished animation:
I feel that the quality of my city illustration is good and so it helps to give the camerawork more effectivity when creating an atmosphere. Considering that I had attention to detail when designing my city those features can be appreciated with close-ups.
I received feedback that my animation was almost too fast for viewers to take anything in and so I went back and added more frames so that I could slow down the camera movements and a few other things.
Here is the final animation:
