
Using Adobe After Effects, we are learning to rotate planets so that they appear 3D using the CC Sphere effect.
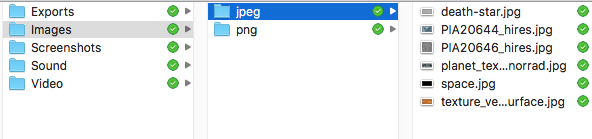
Ensure that there is a new folder set up like this, ready to import into After Effects.

When you open the software, create a new project and set up the first composition called ‘Master’. Preset should be HDTV 1080 25 with the dimensions 1920px by 1080px.

Next, you need to import the folder that you created earlier so that your workspace remains organised.
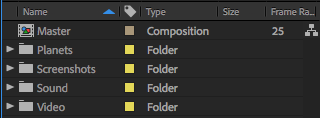
It should look like this. Now we’re ready to make the planets.


First, drag the space background from the jpeg folder in Images onto the master composition or into the timeline and use the shortcut CMD + Alt + F to fit it to the size of the composition; lock this layer as it is the background. Also in the jpeg folder should be the planet textures. Choose one, drag it onto the composition and name the layer appropriately.

Ensure that the planet texture is above the background layers so that you can see it.


Select the texture and go to Effect > Perspective > CC Sphere. This will wrap the texture into a spherical shape. You can also go to the CC library panel and search CC Sphere to pull up the effect to use it.


You can use the effect controls in the timeline or the Effect Controls panel. To make the planet rotate, you need to press the stopwatch to create a new keyframe.
The two values next to the rotation option are different ways for you to rotate the planet. The After Effects software registers 360° as one full rotation and so it translates to one frame. The value on the left showcases the number of frames and the value on the right shows the degrees. You can determine how fast or slow you want the planet to rotate with either of these, but changing the frames makes it easier to differentiate between the speeds of rotation of the planets – helping you to add variation with less confusion.

Before altering the rotation, ensure that you drag the playhead to the end of the workspace to create the ending keyframe.
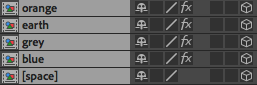
When you’re happy with the rotation, pre-compose the planet by right-clicking on the layer and selecting ‘Pre-Compose’.

Do this with each of the planets as you complete them to keep your timeline organised and manageable.
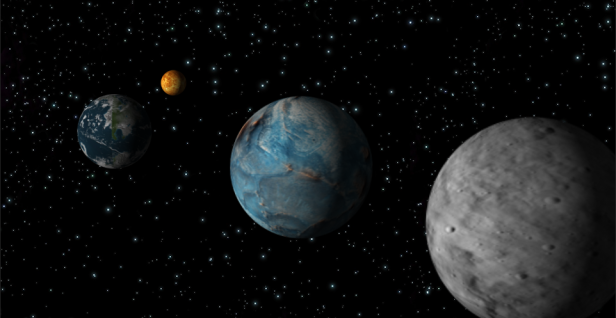
Arrange them how you like – this was my first setup.
You can add more depth to this animation by using the camera tool in a 3D space. First, you need be able to arrange the layers so that you can use the z-axis – as the planets are currently on a 2D plane, you need to separate the layers on the z-axis so that you can move through them.
Select all of the layers and enable the ‘edit in a 3D space’ option on all of them.
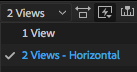
Then, in the toolbar at the top of the timeline panel, change the view from ‘1 view’ to ‘2 views – Horizontal’.
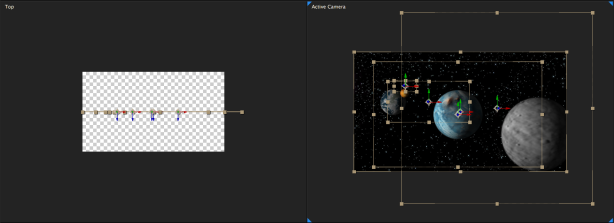
The setup should now look like this. There should be one Active Camera showing you what the composition looks like and the other view will show the axis of the composition you select.
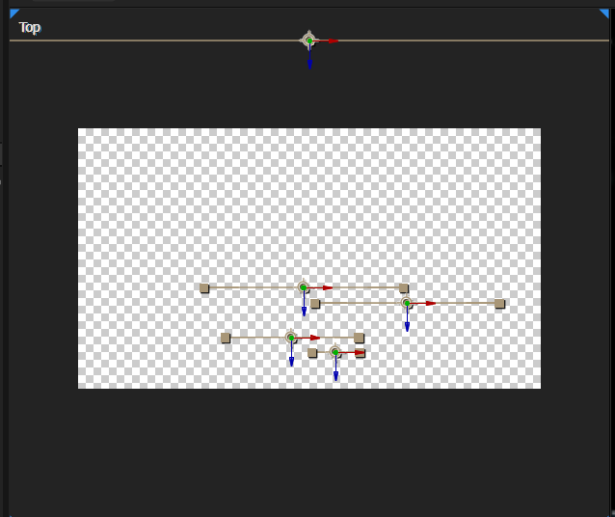
Now, use the blue arrow to move the z-axis of each planet to put space between the layers and make the workspace 3-dimensional. You’ll need to scale up the background so that it is larger than the composition so that when zooming in, it doesn’t come away to reveal the blank composition. This applies to the planets as well – the planet at the back will need to be the biggest and the one at the front, the smallest so that when zooming in through the planets, they appear as the correct sizes. Also, make sure you move the space background back the furthest so that you can’t go through it.
Arrange the planets so that as you would zoom, you can see the camera going through the planets.

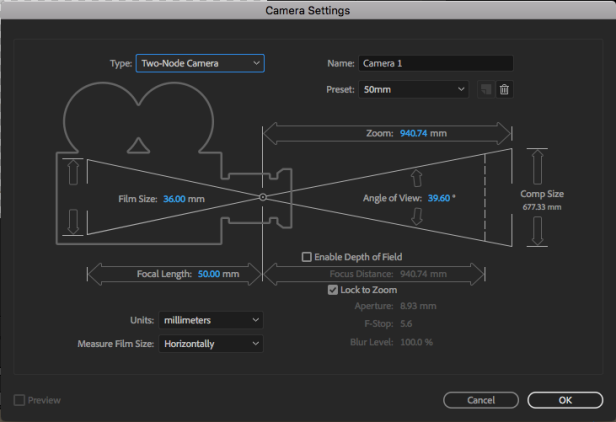
To animate the perspective changing, go to Layer > New > Camera. When the dialogue box opens, make sure that the type is set to Two-Node Camera to enable you to direct the perspective. After pressing ok it will appear as a layer in the timeline.
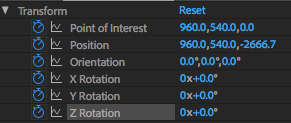
In the transform dropdown of the camera layer, go to position and press the stopwatch. The value on the far left will change the z-axis and so increase it as much as necessary so that the camera moves through the planets.
To export, go to File > Export > Add to Render Queue. Ensure that the format is set to Quicktime and that the Video Codec under video format settings is set to DVCPRO HD 1080p25. Change the output settings to where you want it saved and finally press the play button to render the video.
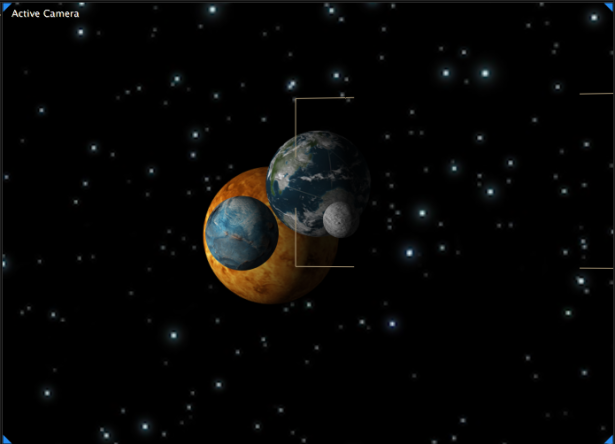
Here is mine:
To make my animation more interesting, I decided to use the x-axis when altering the camera effects as well to add varying movement. I feel that this helped to make it seem more interesting. To improve the animation, the quality of the planet textures could’ve been better quality so that when passing through them, they didn’t become pixelated.
