
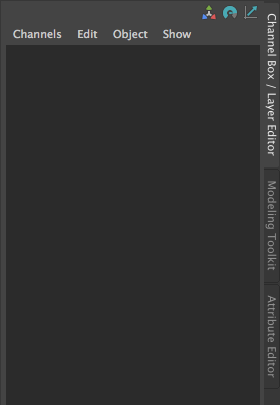
Open the channel box tab at the side.
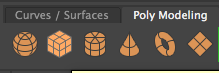
Select the cube in the poly modelling tab.
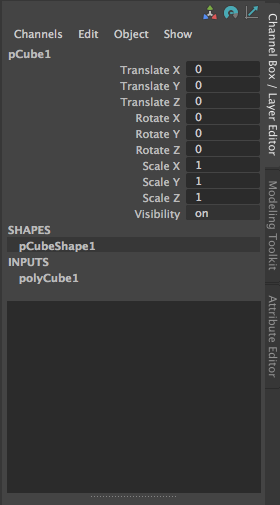
Some values will appear in the channel box when the cube is selected. These values allow you to change things like the scale.


On the bottom left, an icon for the outliner will be there. This shows you all of the content that you currently have in the scene so that you can find things easily.


In the channel box, select all of the scale values and change them to 4 to get a larger cube.


In the channel box, set the ‘Translate Y’ value to 2 so that the cube sits flat on the plane as the scale is 1. Also, change ‘Translate X to -14″
![]()
At the bottom, there is a grey slider called the range slider which will help to focus on specific sections of your keyframes.
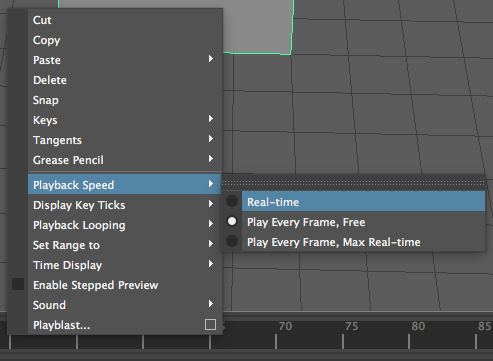
Right-click on the timeline at the bottom where the numbers are, find ‘Playback Speed’ and set it to real time.
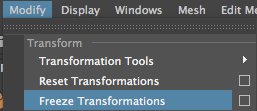
Go to Modify > Freeze Transformations and this will zero out the values for the cube that are shown in the channel box. This will set a default position for the shape so that if you’re moving shapes around, wherever you froze the transformations, you can choose reset transformations and it will go back to that point.
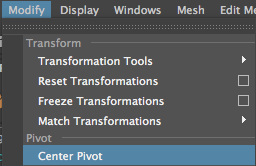
Now go to Modify > Centre pivot to move the handles to the centre of the shape.
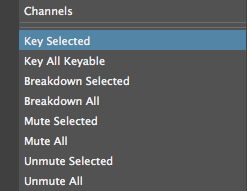
Now we are going to move the cube. Right-click the translate X section in the channel box and select ‘key selected’ to insert a keyframe.
Now go to the 72nd frame by inputting it into the box at the end of the timeline.

Now change the translate X value to 30 to move the cube. After you have done this, right-click on the translate x section and select key selected to insert another keyframe.
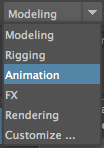
Change the mode from modelling to animation.
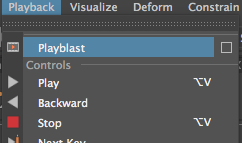
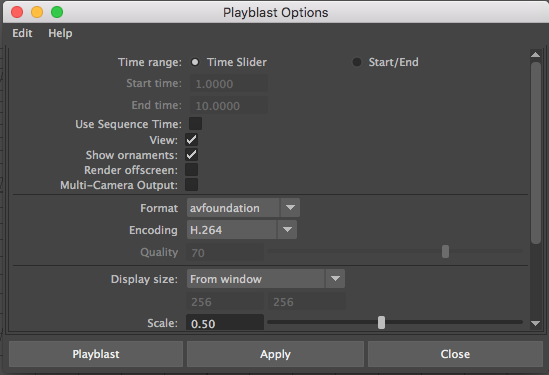
Now in the menu, go to Playback and select the box next to the Playblast option. In the dialogue box, change the encoding to H.264 before pressing Apply. This will create a screen recording of the animation you have made. What is recorded depends on what range you have the range slider set to.
Here is my playblast:
Here, I experimented with moving shapes in different ways using these same methods:
